Simply browse to the OTT domain using Google Chrome (I only use Chrome – you may use another browser)
Front end adding - Step 2
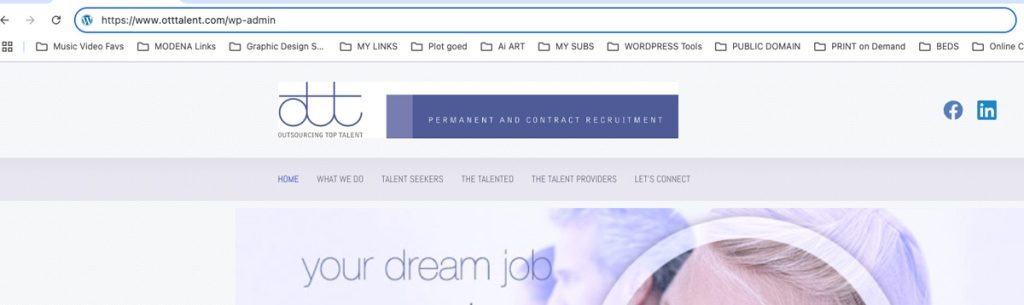
Login to the website by appending /wp-admin/ to the site URL – in this case https://www.otttalent.com/wp-admin/
Front end adding - Step 3
On the login screen, enter your username and password to login. I installed a redirect plugin to take you directly to the “Add a new job” page after login to enable front-end job posting via a Gravity form.
Front end adding - Step 4
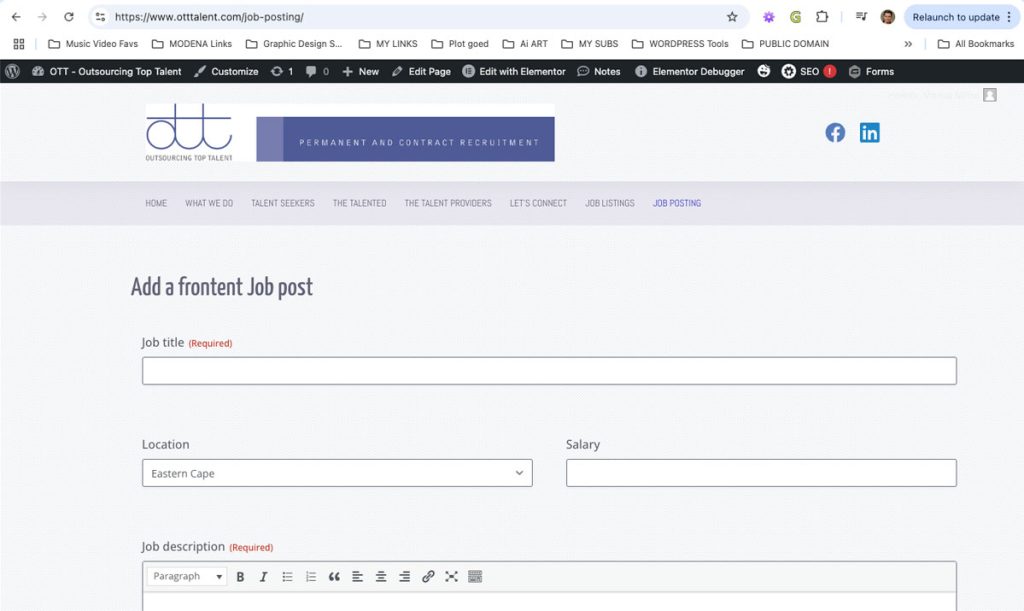
You will land on this page after login – https://www.otttalent.com/job-posting
Front end adding - Step 5
Fill in all the form fields and submit the form by clicking on the “Add Job posting” button.
Front end adding - Step 6
After submitting the job from the frontend form, you will have to configure the rest from the backend. There is no way to do all job configuration from the front end of the website.
The backend part
Back end - Step 1
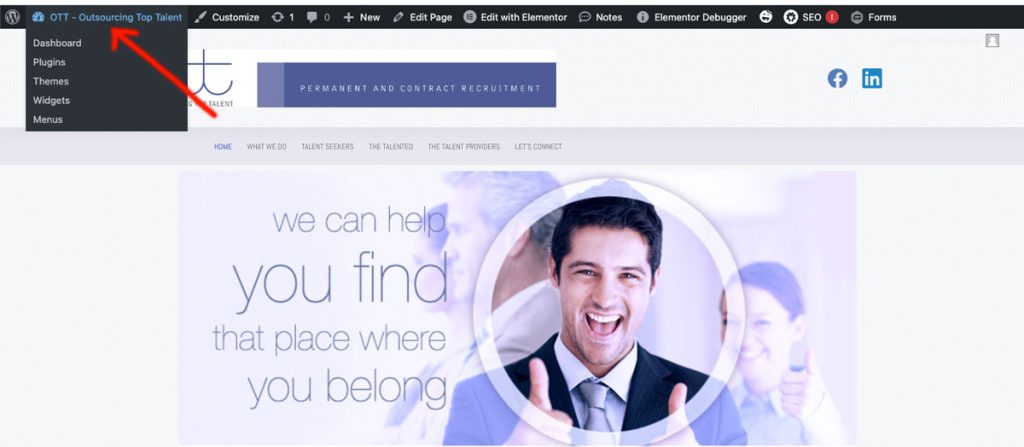
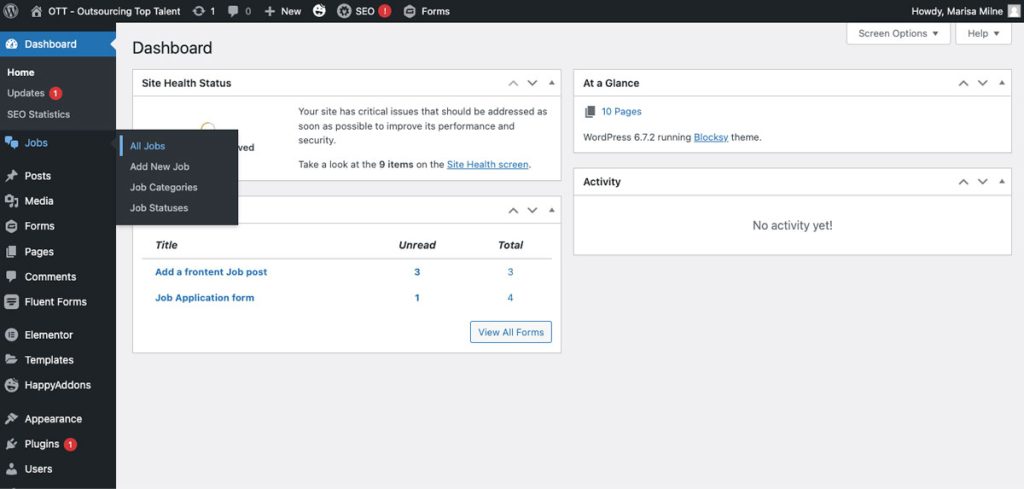
Roll your cursor over the Dashboard icon in the top left corner to get to the dashboard menu dropdown and click on the Dashboard link. This will take you to the WordPress Dashboard.
Back end - Step 2
You will find the Jobs custom post icon close to the top on the Dashboard screen. Roll over it to get to the Jobs menu and click on the “All Jobs” tab. This will take you to a list view of all Job postings.
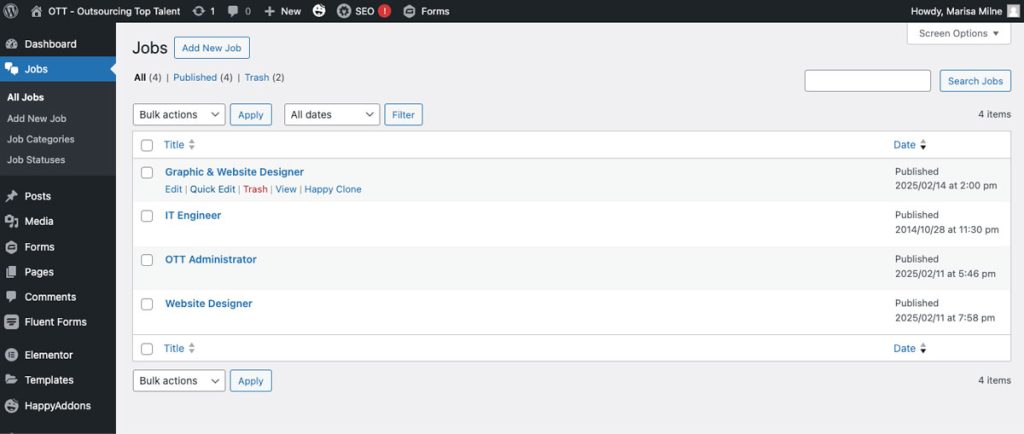
Back end - Step 3
You will find the Jobs custom post icon close to the top on the Dashboard screen. Roll over it to get to the Jobs menu and click on the “All Jobs” tab. This will take you to a list view of all Job postings.
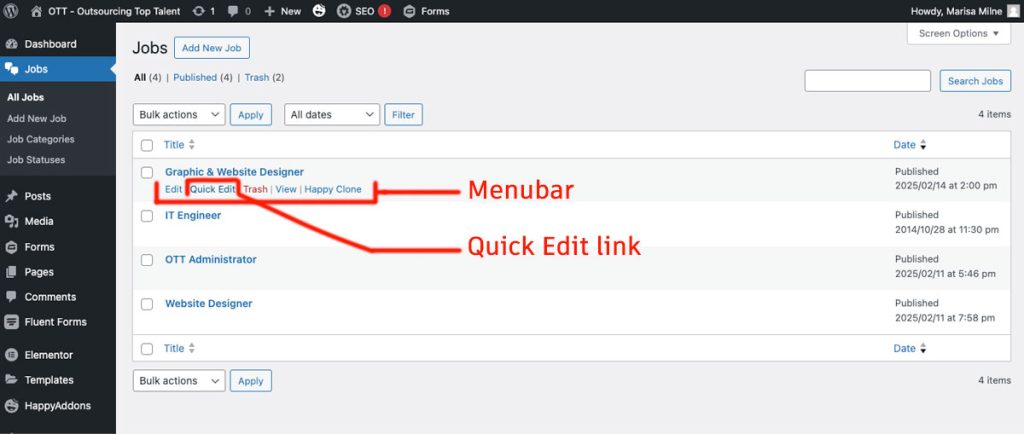
Back end - Step 4
When you roll over a Job title, you will see a menubar with 5 links. You can Edit, Quick Edit, Trash and View a Job. (Do not use Happy Clone)
Quick Edit will expand the Job title to display some very important Taxonomies as well as the Post Status.
The “Vacant” and “Filled” Taxonomies will determine if your Job will be listed or not. When the Job was filled, you will have to select it as such to remove it from the Job listings page.
Also when the Status is set to any other option than “Published”, the Job listing will also not appear on the listings page.
By default a Frontend posted job will be set to “Pending Review” unless you want to change it to “Published” if you are 100% sure that all your info is correct. PLEASE NOTE that it is also never fully guaranteed that a hacker can’t get to your Frontend posting page and enter any kind of content. It is therefore best to set the default to “Pending Review”
Take note that I created a Job Categories Taxonomy in order to enable Filtering of Job categories on the front end should you require that in future.
Also note that the Job Categories Taxonomy is something I made up myself and can be changed to totally different categories but sooner rather than later when you start posting real jobs.
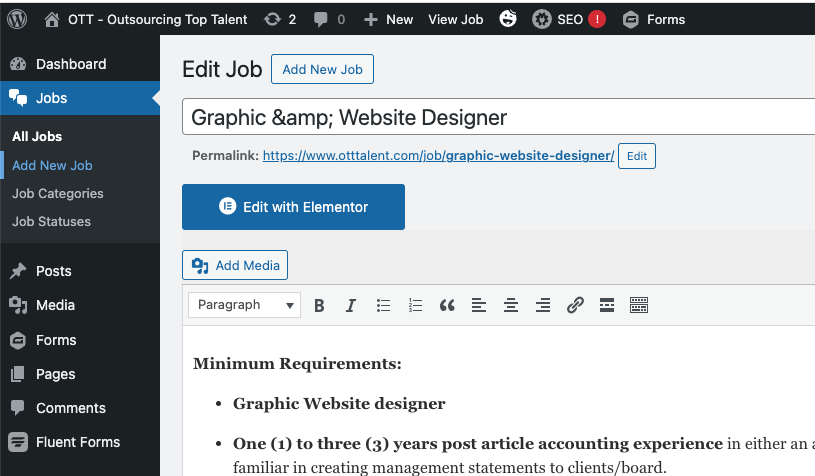
Back end - Step 6 (This is actually where you would start with a new backend posting)
When you roll over a Job title, you will see a menubar with links – Edit, Quick Edit, Trash and View a Job. When you click the Edit link, you will get to this page.
You will see the same fields as on the Front end form but you will also have access to the Taxonomies and Post Status blocks.
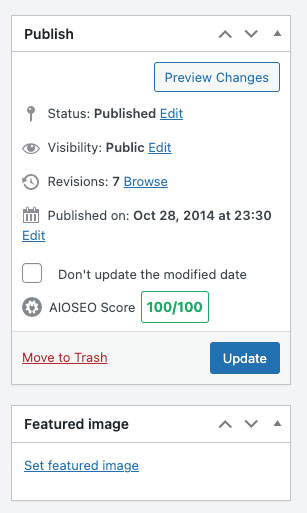
After filling in all the info and ticking all the applicable Taxonomies, you have to click the blue “PUBLISH” button in the top right corner of the page. If you can’t see it just scroll to the top.
It is very important to click this button or your Job listing will not get published.
Back end - Step 7
After publishing your job you can view it or directly start posting a new job by rolling over the Jobs icon to the left and select “Add New Job”
Take note that the PUBLISH button will become the UPDATE button once the jobs was published.
You can then make corrections or changes if you want to but the button title will be “UPDATE”